In the realm of plastic injection molding, ensuring the dimensional accuracy of molded parts is vital to not only ensure satisfied customers, but also to ensure efficient processes and minimize scrap. Conducting thorough dimensional inspections is crucial to making sure that parts meet pre-defined specifications, especially in quality-critical parts like medical equipment. In this blog post, we will guide you through why dimensional inspections matter and the key steps and best practices for conducting dimensional inspections of plastic injection molded parts.
Why Dimensional Inspections Matter in Injection Molding
Dimensional issues in plastic injection molding can have significant repercussions on post-mold operations, particularly in assembly processes.
Here are some ways in which dimensional issues can impact post-mold operations:
- Fit and Tolerance Problems: Parts with incorrect dimensions may not fit together as intended.
- Sealing and Gasketing Issues: In applications where sealing is critical, such as in automotive or electronic components, dimensional variations can impact the effectiveness of seals and gaskets.
- Aesthetic Concerns: Dimensional inconsistencies can also affect the visual appearance of the assembled product.
- Increased Rejection Rates: Higher rejection rates during assembly may occur if parts do not meet specified dimensions.
- Assembly Time and Costs: Correcting dimensional issues during assembly requires additional time and labor.
- Testing and Quality Assurance Challenges: Dimensional variations may necessitate adjustments to testing and quality assurance processes.
- Customer Satisfaction and Product Performance: Ultimately, if dimensional issues are not addressed, they can result in a final product that does not meet customer expectations.
To mitigate these challenges, it is crucial to closely monitor and control your injection molding process to achieve accurate part dimensions. Implementing quality control measures and utilizing appropriate molding techniques can help ensure that parts meet specified tolerances and facilitate smooth post-mold assembly operations.
Best Practices for Conducting Dimensional Inspections in Injection Molding
1. Understand the Design Specifications
Before beginning the dimensional inspection, it’s essential to have a comprehensive understanding of the design specifications. Refer to the product drawings, CAD models, and any other relevant documentation to identify the critical dimensions and tolerances that must be met.
2. Select Appropriate Measurement Tools
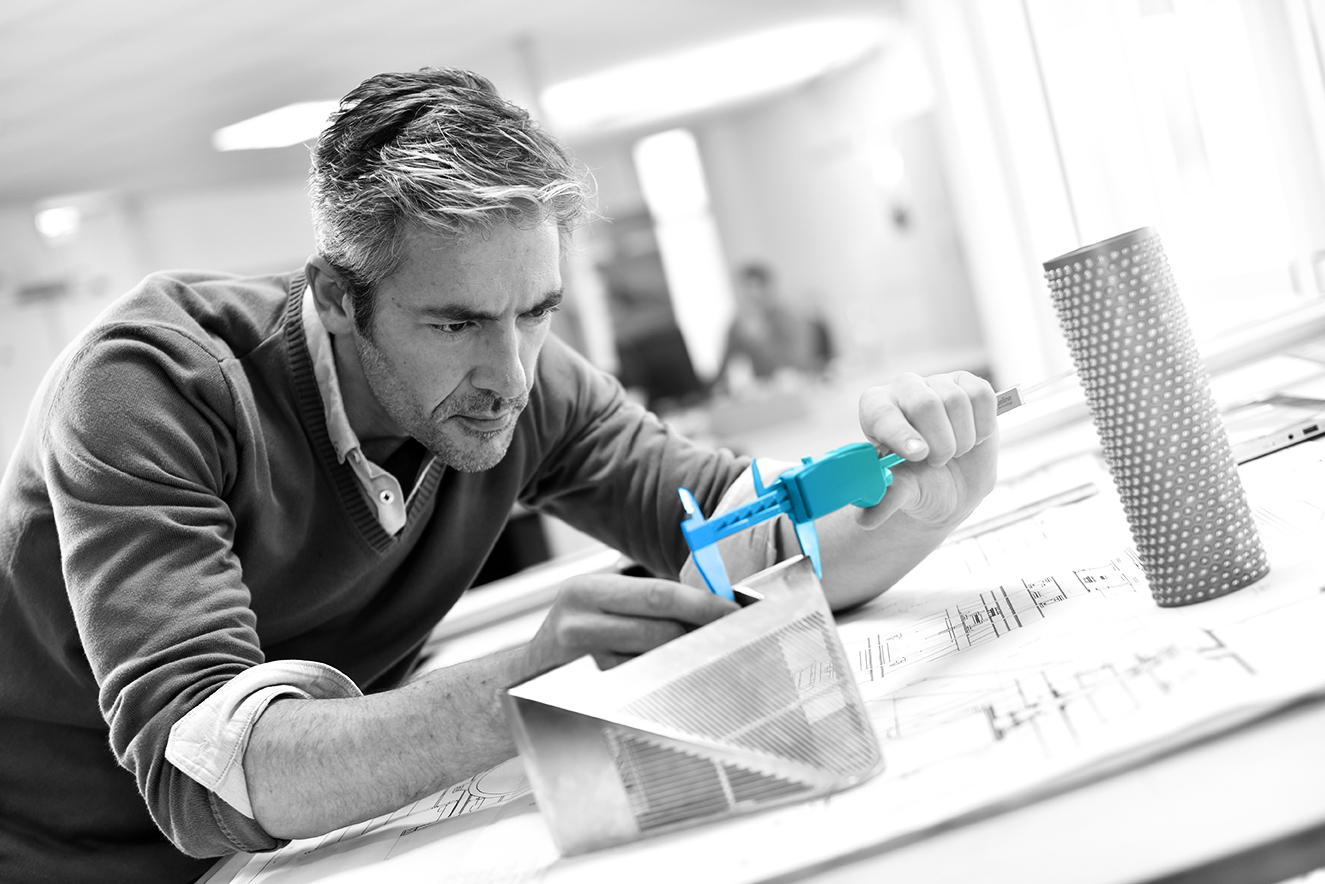
Choose the right measurement tools for the specific requirements of the dimensional inspection. Common tools include calipers, micrometers, height gauges, and coordinate measuring machines (CMMs). Ensure that these tools are calibrated regularly to maintain accuracy.
3. Establish a Controlled Environment
Conduct dimensional inspections in a controlled environment to minimize external influences. Maintain a stable temperature and humidity level to prevent dimensional variations. Use dedicated inspection areas equipped with proper lighting and cleanliness to ensure accurate measurements.
4. Inspect Critical Dimensions First
Begin the inspection process by focusing on the critical dimensions outlined in the design specifications. These are the dimensions that have a significant impact on the functionality and performance of the final product. Addressing critical dimensions first helps prioritize quality assurance efforts.
5. Utilize Automated Inspection Systems
Consider incorporating automated inspection systems, such as vision inspection and laser scanning, to enhance efficiency and accuracy. These systems can rapidly scan and measure multiple dimensions simultaneously, providing a comprehensive analysis of the molded parts.
6. Utilize Cavity Pressure Data
You can also use in-cavity sensors and a process control system (such as CoPilot) to ensure your process is performing as it should. Cavity pressure data is a key indicator of part quality and consistency. Maintaining a consistent cavity pressure helps produce parts with uniform dimensions and characteristics. Fluctuations in cavity pressure, however, may result in variation in part dimensions.
7. Implement Statistical Process Control (SPC)
SPC tools help monitor and control the injection molding process by collecting and analyzing data in real-time. Implementing SPC ensures that the dimensional variations are within acceptable limits, contributing to consistent part quality.
8. Conduct First Article Inspection (FAI)
Perform a First Article Inspection on the initial molded parts from a production run. This involves a thorough inspection of all dimensions to verify that the parts meet the design specifications. Address any discrepancies or non-conformities promptly.
9. Document Inspection Results
Keep detailed records of the inspection results, including measurements, tolerances, and any deviations from the design specifications. Documentation is crucial for traceability, quality control, and continuous improvement initiatives.
10. Implement Root Cause Analysis for Deviations
If dimensional discrepancies are identified, conduct a root cause analysis to determine the underlying reasons. Address and rectify the root causes to prevent similar issues in future production runs. Using process control systems, like CoPilot and a data networking system, like The Hub will help not only determine the root cause of the issue, but also build an audit trail to review later. CoPilot even has a new AI process assistant built into it named MAX that tells you what went wrong and how to fix it.
11. Continuous Improvement
Embrace a culture of continuous improvement by incorporating feedback from dimensional inspections into the production process. Regularly review and update inspection procedures based on lessons learned and technological advancements.
Conclusion
Conducting dimensional inspections of molded parts in plastic injection molding is a meticulous process that requires attention to detail and adherence to best practices. By following these guidelines, you can ensure the dimensional accuracy of your molded parts, resulting in high-quality products that meet or exceed customer expectations.


