Welcome to the CoPilot Database!
Installation Guide, FAQs, and More Information About CoPilot
Whether you’re a new CoPilot user looking for installation instructions, a veteran with an operation question, or doing your research before committing to the CoPilot, you found the right place!
To start, let’s skip to the stuff that matters to you: What best describes you?
About CoPilot
CoPilot is the latest in injection molding smart technology. This simple, user-friendly software makes it easier than ever to ensure your customers receive only the highest quality parts while minimizing waste, optimizing efficiency, and bridging the skills gap.
An Overview of CoPilot
CoPilot solves ongoing injection molding challenges including:
- Slow troubleshooting time, guess and check work
- Untrained staff aren’t able to resolve problems without a process engineer
- Shipping suspect parts
- Not knowing what changed in a process
- Excess scrap, machine downtime, and lack of visibility in the process
- Inconsistent processes due to inefficiencies and human error
CoPilot features include:
- Brand new AI technology that walks you through how to fix your process, so anyone can start making good parts again fast, despite their experience level
- Real-time, on-screen notifications when a machine is down or producing suspect parts
- Set up alarm limits and templates for process matching
- View data from each shot
- Automatically retain suspect parts and understand what happened in the process
- Total part and process audit records
- Process automation
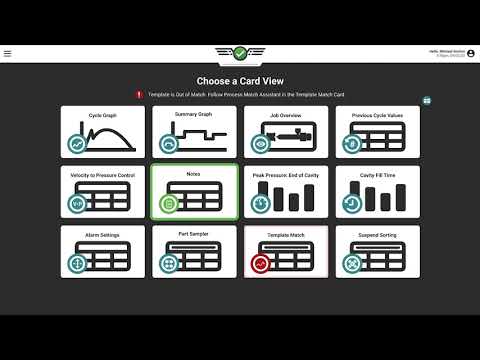
Watch a brief demo of CoPilot:
CoPilot is Now Equipped with AI!
Meet MAX, the Process Advisor®. Molding Automation Xperience (MAX) features an intuitive and easy-to-use interface that provides step-by-step advice to help you restore your process to optimal performance. This smart AI, powered by proven Master Molder® techniques, delivers you with an unparalleled level of control, efficiency, and quality never before possible.
CoPilot Installation Guide
In this guide, we define who is responsible for each step of the process, so you can focus on only what matters to you—”User” refers to the personnel who will be using CoPilot the most. Click on each section to expand it and get the tools needed to complete that step.
If you have any questions along the way, your RJG point of contact will always be here to help!
Step 1: Ensure presses are ready for installation (Maintenance, RJG)
This step should already be complete by now, but if it’s not, now’s the time to ensure that your presses are ready for CoPilot installation. This will require assistance from your maintenance crew as well as RJG. We will ensure the appropriate injection molding machine signals are available to make installation as efficient as possible.
AP4.0 C-Pilot Application Processor Installation Guide
Product Manual: AP4.0

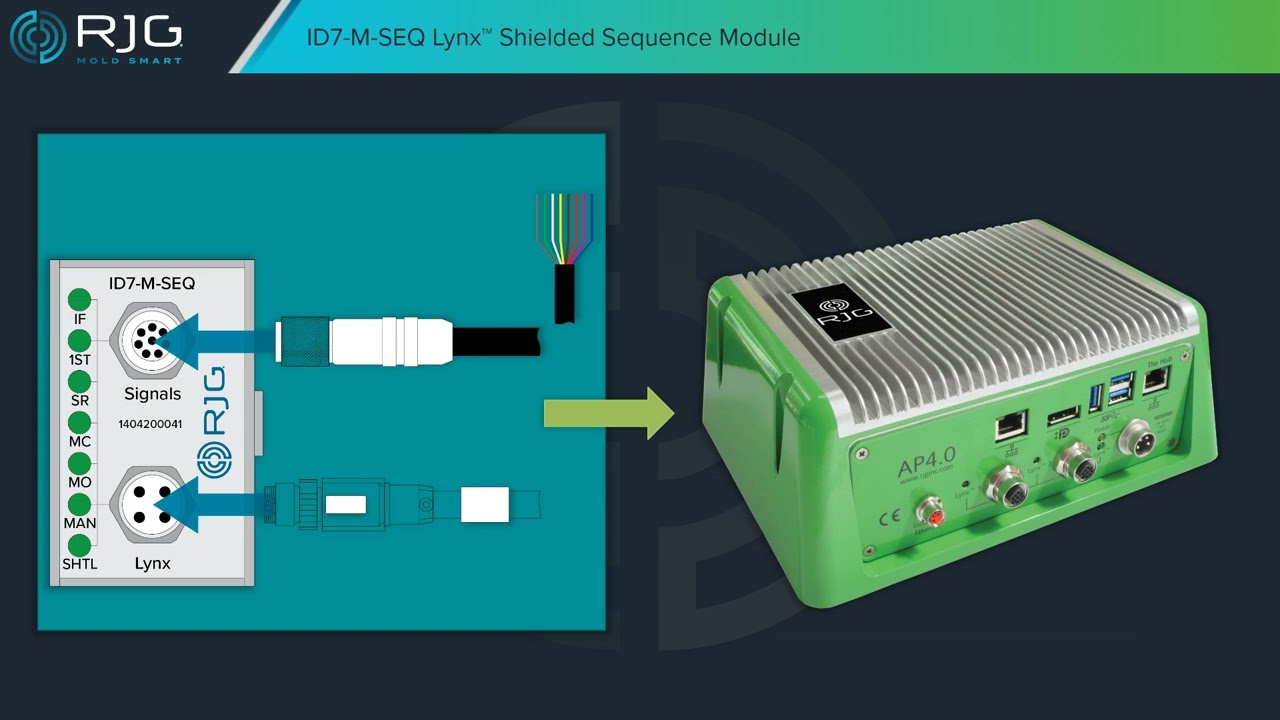
ID7-M-SEQ Machine Sequence Module Installation Guide
Product Manual: ID7-M-SEQ
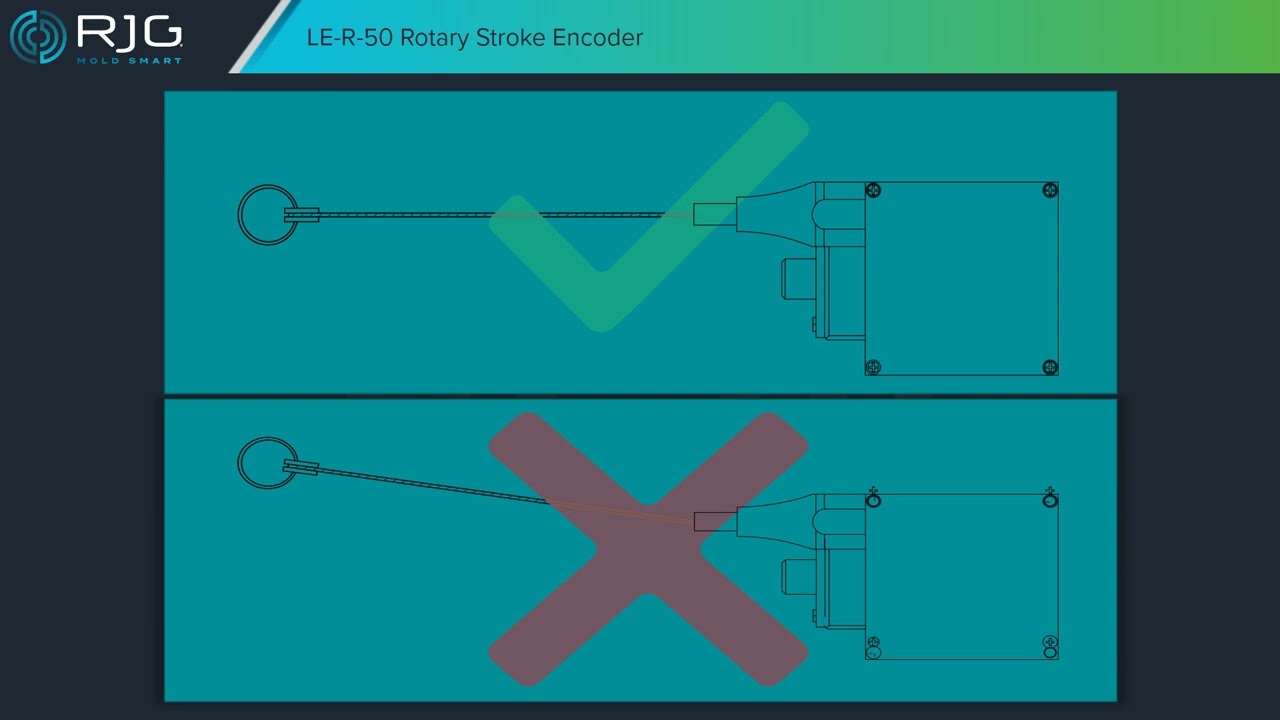
LE-R-50 Stroke/Velocity Sensor Installation Guide
Product Manual: LE-R-50
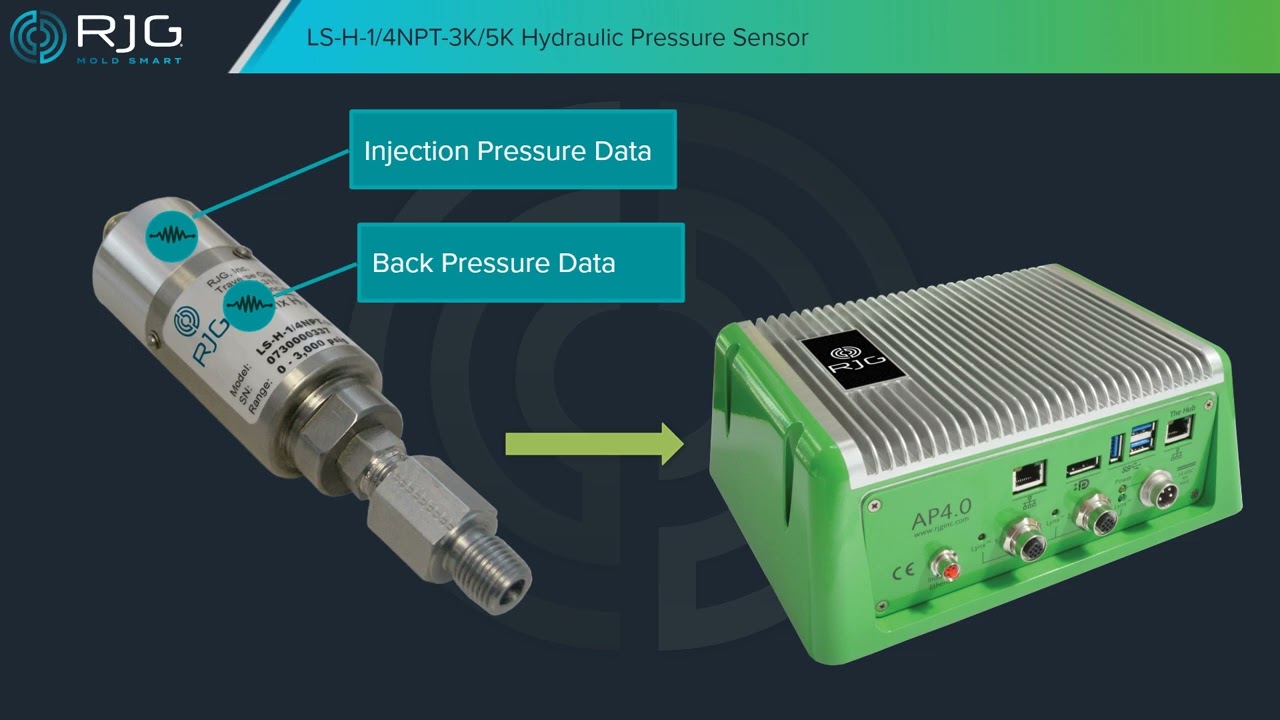
LS-H-1/4NPT-3K or 5K Hydraulic Sensor Installation
Product Manual: LS-H-1/4NPT-3k or 5k
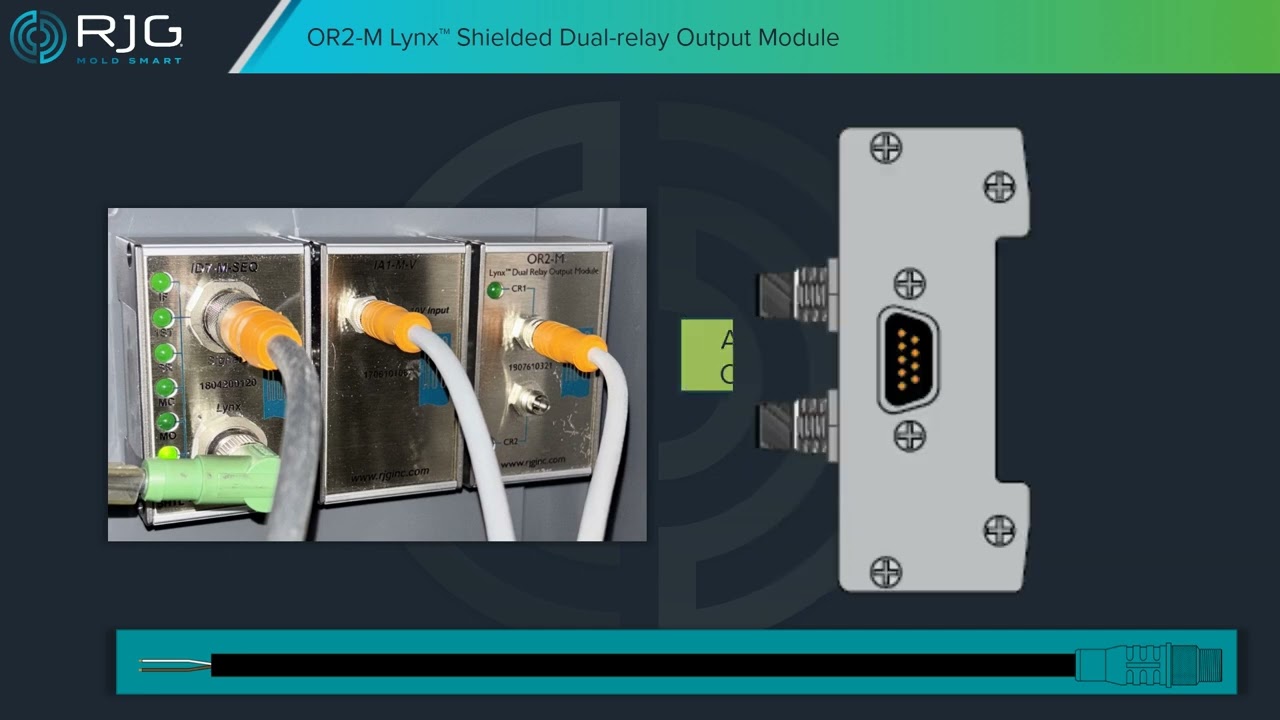
OR2-M Lynx® Shielded Dual-Relay Output Module Installation
Product Manual: OR2-M
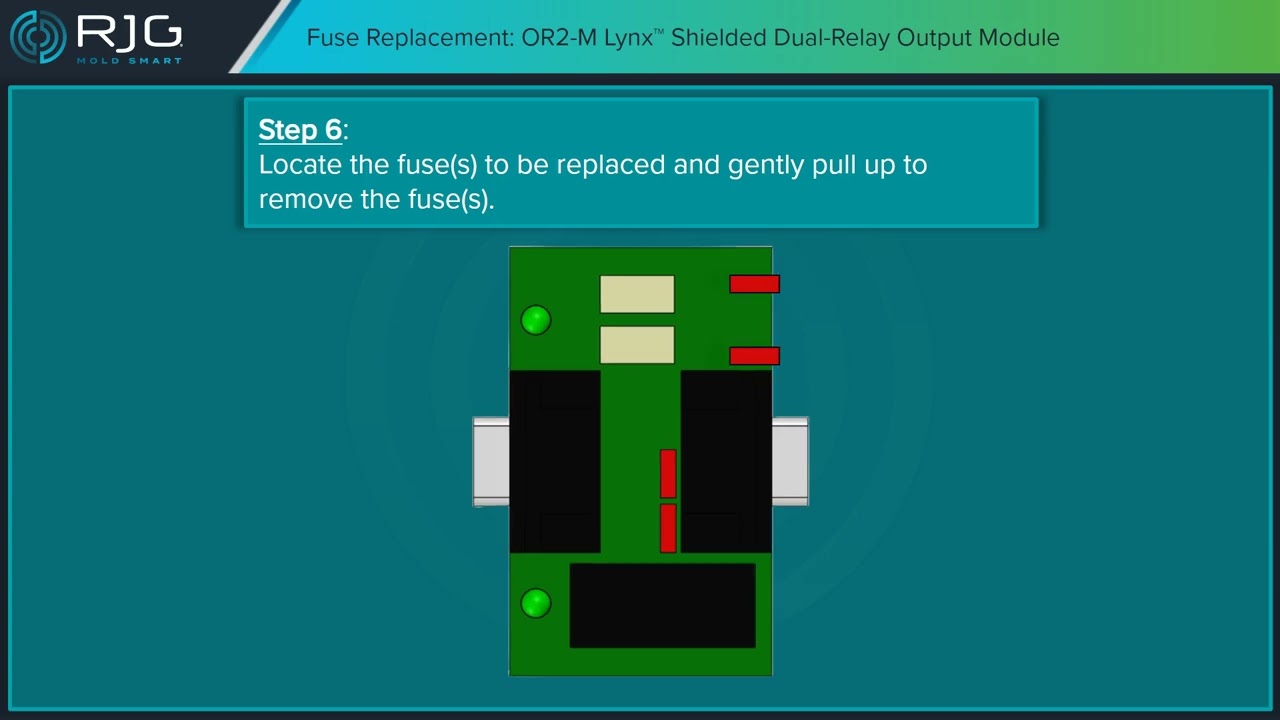
Replace Fuses in the OR2-M Lynx® Shielded Dual-Relay Output Module
Product Manual: OR2-M
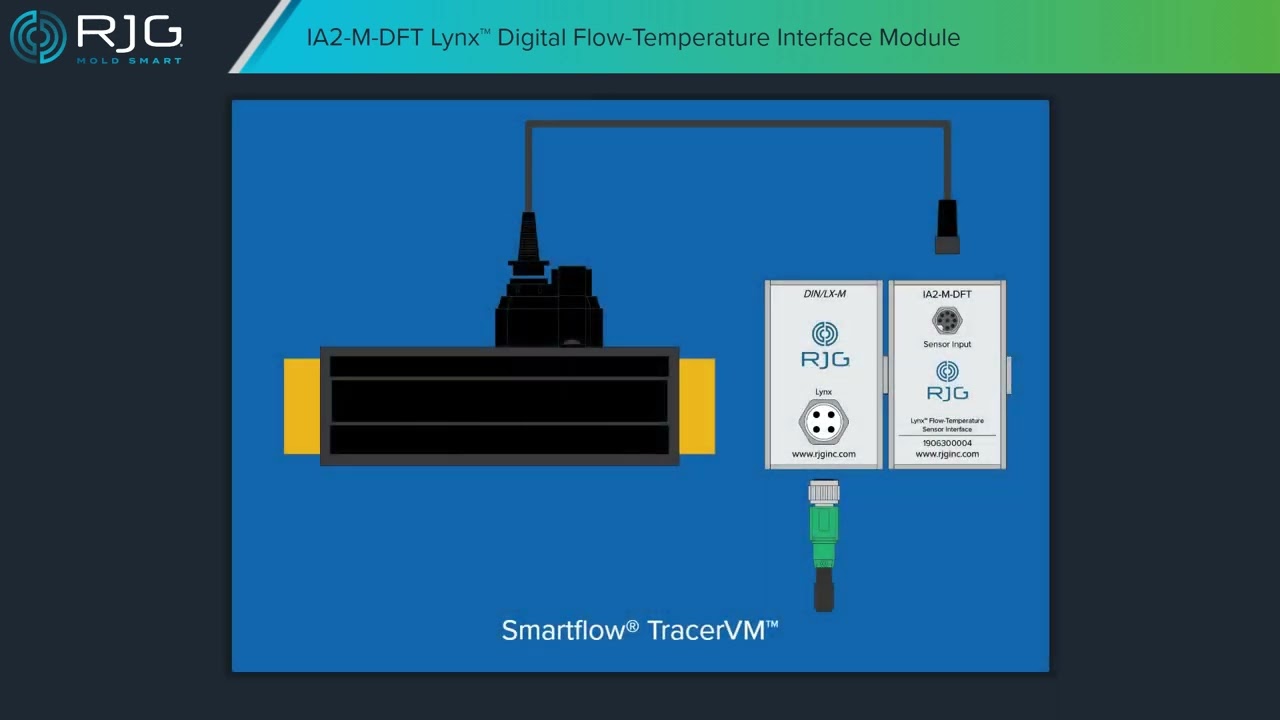
IA2-M-DFT Lynx® Flow-Temperature Interface Module Installation
Product Manual: IA2-M-DFT
IA1-M-V Lynx® Analog Input Module Installation
Product Manual: IA1-M-V
L-PX Links Proximity Switch Installation
Product Manual: L-PX

Tools Needed:
Copilot Hardware Installation & Setup Guide: Review page 40 for a complete list of required signals and corresponding terminology
*Must have – Injection Forward, Second Stage, Screw Run, and Mold Clamped
Step 2: Make sure IT is on the same page (User, IT, RJG)
We will meet with your IT department to ensure they are fully informed and on board with the implementation prior to installation. This will ensure they have the tools they need up front, and we can address any potential roadblocks right away.
Tools Needed:
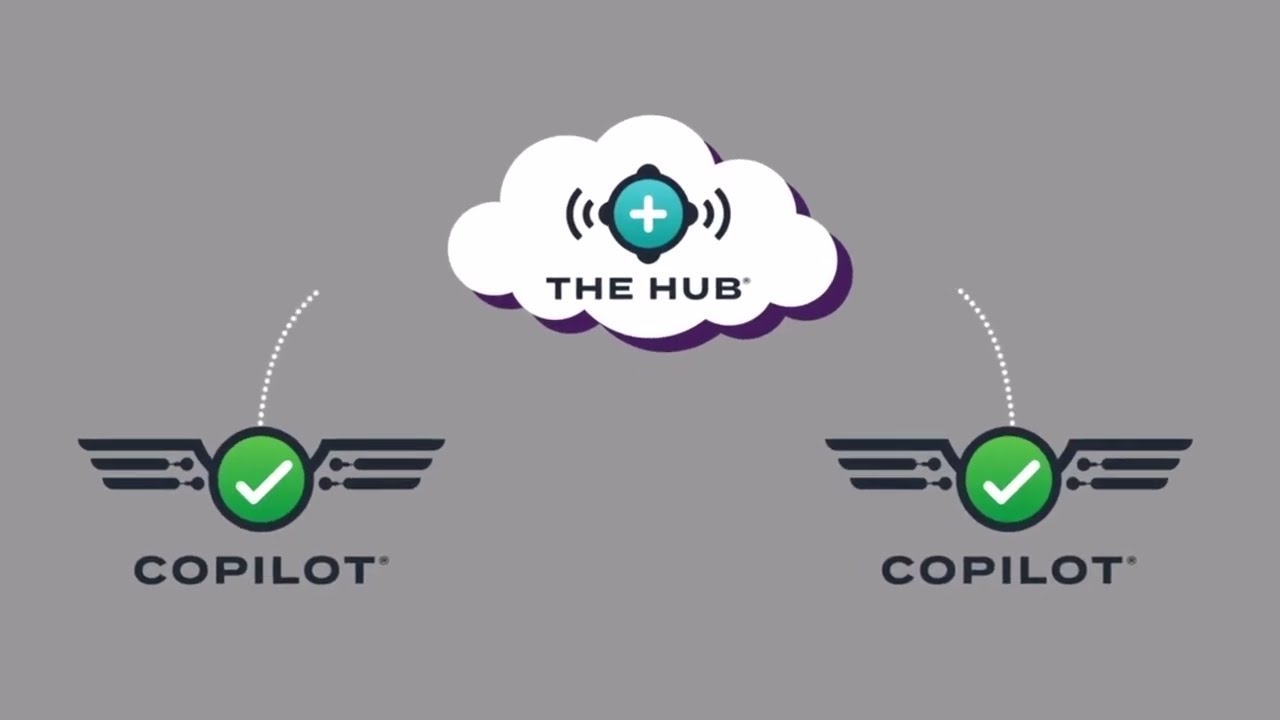
Step 3: Make sure The Hub is properly installed (RJG, IT)
It’s vital to ensure that The Hub is installed in order to network CoPilot systems together. RJG will work alongside your IT team to ensure this is done properly and that everything meets your IT and security requirements.
Tools Needed:
The Hub Software Virtual Appliance (VA) Product Manual
Software Specifications – Page 15
Installations Requirements – Page 17
Installation Process – Pages 18-37
Step 4: Complete Copilot & The Hub software networking checklist (IT)
Once you have an understanding of how the software works, complete the Hardware Installation and Setup Guide below, either on your own or with an RJG professional. It’s important to follow each of these steps to ensure accuracy and maximum effectiveness of your CoPilot system.
Step 5: Schedule Copilot Takeoff Training (User, RJG)
Congratulations, installation is complete! Now it’s time to schedule your CoPilot Takeoff Training. Work with your RJG professional to schedule a time that works for your team to have one of our experts come to your facility and train them on how to properly and effectively utilize CoPilot. This is a vital step that ensures your success and employee confidence in the technology. We like to get things on the schedule early, as we know calendars fill up quickly, and it can be difficult to find a time that works for everyone.
While you wait to complete your Takeoff Training, we suggest completing the FREE, 1-hour, self-paced Meet Your CoPilot course here.
Step 6: Create user names and passwords on The Hub (User)
This may seem like a simple step, however creating new users, passwords, and associated permissions will be paramount to ensuring data security, traceability, data integrity, and user accountability.
Tools Needed:
The Hub Software User Guide: Pages 94-100 (Includes role permissions)
Step 7: Confirm hardware installation strategy (Maintenance)
As with any new technology implementations, it is vital to have a clear understanding of the components involved. Ensuring that you are following the recommended steps and precautions will mitigate any risks or functionality issues down the road. A well-planned installation simply leads to a more efficient and enjoyable technology adoption process.
Tools Needed:
Copilot Hardware Installation & Setup Guide: Pages 15-21
Step 8: Complete installation checklist (Maintenance)
Ensuring an efficient and optimal installation of your RJG technology will ensure ongoing success, both for your business and your team. This document will serve as your Standard Operating Procedure for all installations moving forward, allowing for full confidence in each installation and mitigating any future risk.
AP4.0 C-Pilot Application Processor Installation Guide
Product Manual: AP4.0
OR2-M Lynx® Shielded Dual-Relay Output Module Installation
Product Manual: OR2-M
Replace Fuses in the OR2-M Lynx® Shielded Dual-Relay Output Module
Product Manual: OR2-M
IA2-M-DFT Lynx® Flow-Temperature Interface Module Installation
Product Manual: IA2-M-DFT
IA1-M-V Lynx® Analog Input Module Installation
Product Manual: IA1-M-V
L-PX Links Proximity Switch Installation
Product Manual: L-PX
Tools Needed:
Copilot Hardware Installation & Setup Guide:
CoPilot System Hardware Installation Checklist on pages 53-61
ID7 Module Wiring Diagram on pages 22-23
Step 9: Complete CoPilot system machine sensor & module configuration checklist (Maintenance)
Once you have completed the Copilot System hardware Installation Checklist, it’s time to verify everything is functioning properly. Use this tool to verify the installation and function of machine-mounted sensors and modules for use with CoPilot.
Tools Needed:
Copilot Hardware Installation & Setup Guide: Pages 63-68
Step 10: Complete Copilot system mold sensor configuration checklist (if using cavity pressure sensors) (Maintenance)
We have finally arrived at the last step of installation! If you are utilizing RJG cavity pressure sensors, you know how vital they are to your everyday production, so let’s make sure they are doing their job! This section will also touch on CoPilot software configuration, process alarm configuration, process templates, and V-P transfer configuration. As always, if RJG can assist your team in any way throughout the installation process, we are ready!
Tools Needed:
Copilot Hardware Installation & Setup Guide: Pages 69-72
Step 11: Complete Copilot Takeoff Training (User, RJG)
Now that everything is set up, it’s time to get your team on the floor and do some hands-on training. This is a two-day course consisting of basic utilization training, practical exercises, and applications that allow you to put to practice what you learn and ask case-specific questions. CoPilot Training can take place at your facility, our facility, or online. The online course is only one day, then the practical exercise is carried out at a later date, either at our facility or yours.
To prepare for takeoff, here are a couple resources you may want to review prior to training:
Step 13: Takeoff!
Congratulations, you completed your CoPilot onboarding and installation!! Now it’s time to watch the magic happen. If you have any questions along the way, we’re always here to help.
Thank you for allowing us to help you mold smart!