
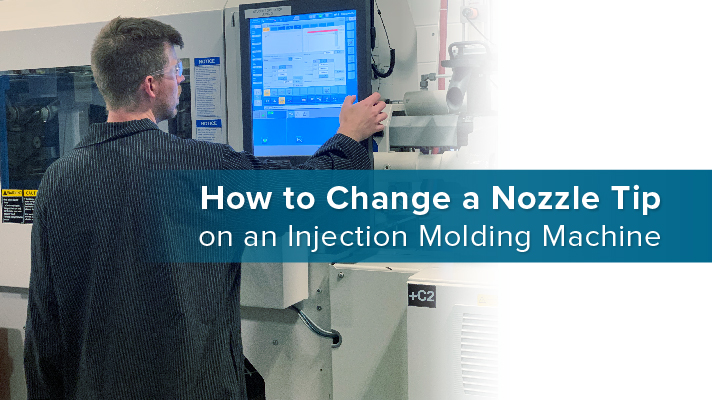
How to Change a Nozzle Tip on an Injection Molding Machine
There are many reasons why you would want to change a nozzle tip from damage to maintenance to switching out color. But it’s important to ensure you change it properly to prevent future damage or difficulties removing it next time.
Here is what you need and how to change a nozzle tip on an injection molding machine properly.
What You Need:
- Heat-protective gloves
- Heat-protective sleeves
- Safety glasses
- Breaker bar
- 7/8 socket
- Mirror
- 7/8 closed-in wrench
- Brass tools to clean plastic out of the nozzle body, maybe some brass gauze
- Nozzle tip replacement (if you’re not using the same nozzle)
- 600 grit emery cloth
- Anti-seize
Remember to always wear heat-protective gloves.
How to Change a Nozzle Tip:
1. Retract the barrel off of the mold so you can access the nozzle tip.
2. Empty barrel to get as much plastic out as possible to keep plastic out the threads of the nozzle tip. Continue to purge manually until no more plastic comes out.
3. Inject one last time manually to screw bottom, then manually retract (or suck back) to the full back position. This pulls any remaining plastic out of the thads of the nozzle body and out of the tip.
4. Now is a good time to inspect the wires to see what condition they’re in. This can be done with the heater on, just make sure that the wires will not be in the way of the wrench to avoid electric shock. If they are in the way, you can turn off the heat and remove the wires to ensure safe working conditions.
5. If possible, change out the nozzle during a mold change so that you can run the nozzle through the stationary platen. It is much easier to access and inspect this way.
6. Break the seal on the nozzle tip using your closed-in wrench. Once the seal is broken, you should be able to use your fingers to un-thread it the rest of the way. If the nozzle does not come off easily, then you can use your breaker bar with a cheater pipe to get more leverage. This should ONLY be done to remove the nozzle tip, never to install it. If the nozzle tip is difficult to remove, it may mean there’s some damage to the threads of the nozzle body or nozzle tip, so be sure to inspect them to ensure they’re both clean and in good condition.
7. Inspect the threads of the nozzle body with the mirror. Make sure all remaining plastic is cleaned out of the threads to ensure the nozzle tip has a nice seat to sit upon. Use the brass tools, such as gauze, to clean it out thoroughly.
8. Inspect the nozzle tip. If you’re going to reuse the nozzle tip you removed, be sure to clean it well, and make sure there’s no plastic in it or the threads aren’t damaged. Check the radius of the tip to make sure it’s a proper fit. If you’re using a new nozzle tip, check the orifice gauge to ensure it’s the right size and kind. (Check out this video on how to size a nozzle tip.)
9. Use a 600 grit emery cloth on a very flat surface to flatten out the seat of the nozzle tip to ensure it sits properly in the nozzle body.
10. Once the nozzle tip is clean and ready to install, apply a very light coat of anti-seize to the threads. This is a very messy process—you may want rubber gloves for this. A tiny bit goes a long way, but it’s important to ensure that you can remove the nozzle in the future.
11. Install the nozzle tip back into the nozzle body. Thread it in with your fingers—if it doesn’t thread in easily, don’t force it as there might be damage. Then take the 7/8 wrench and tighten it just a bit.
12. Let the nozzle tip warm up for about 5 – 10 minutes so that it gets to be the same temperature as the nozzle body. Now it’s safe to tighten it down. You can use a torque wrench to do this. We set ours to 154 pounds, but consult your machine manufacturer to determine the exact specification they recommend.
13. Make 5 – 10 shots to ensure there are no leaks and that you did the job correctly.
And that’s it! Check out our video on YouTube walking through each of these steps, and as always we’re here to help!