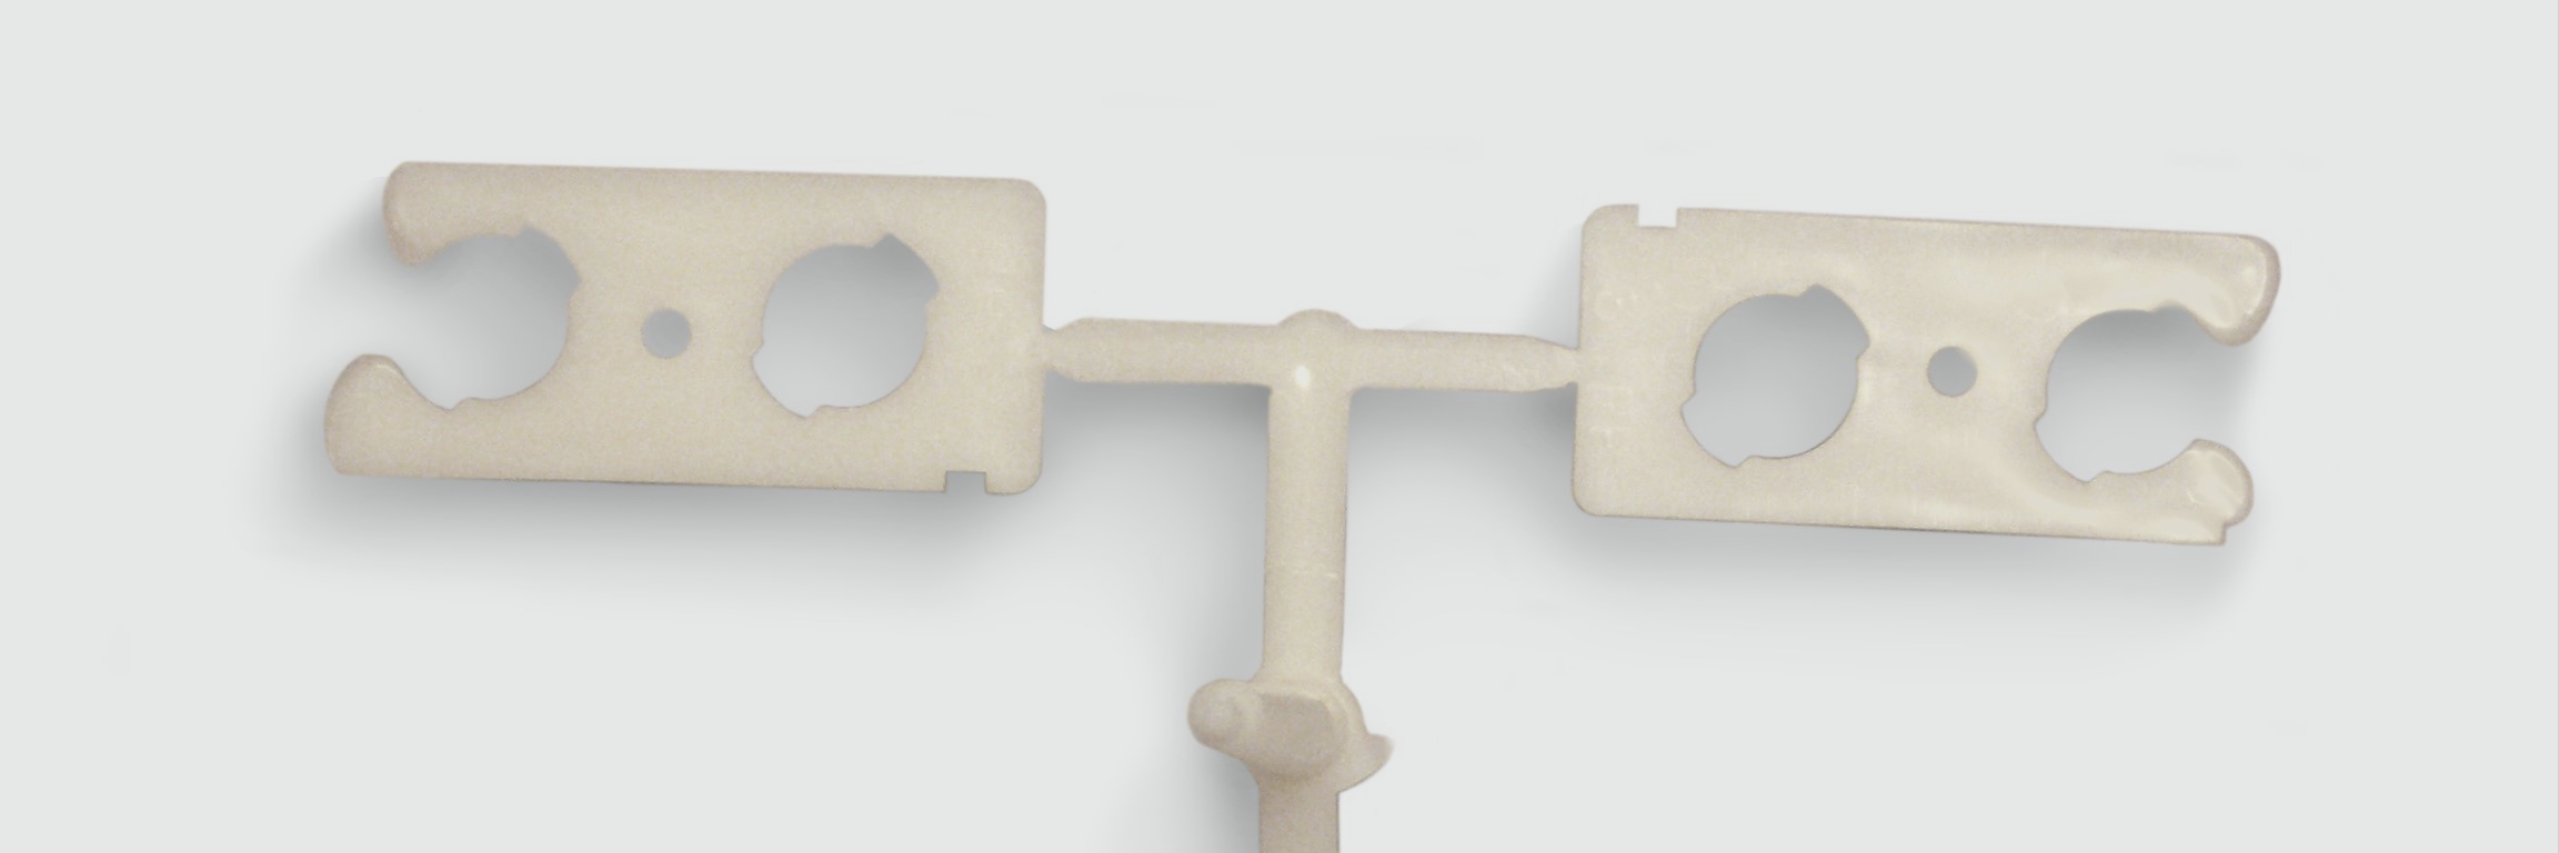
Establishing a 95-98% fill only part is an essential step when developing a DECOUPLED MOLDINGSM process, as it sets up the rest of the process for a successful application. But how is that accomplished?
Let’s start by exploring why we use the term “fill only”. Fill only refers to the amount of volume being injected into the mold during the filling portion of your process. If the cavities are completely full by the time you reach your transfer position, then it transitions from filling the parts to packing them. The analogy that I often use when teaching is to pretend you are driving home from work. You drive the bulk of that distance at a relatively high rate of speed, but when you pull into the garage, you slow down. Why? Well that’s pretty simple… so you don’t blow through the back of the garage! We use the same principle when filling the parts. If we hit the back wall of the cavity at a high rate of speed and with 40,000 psi of injection pressure behind the screw, the likelihood of flashing the mold goes up dramatically.
Students often ask me if they should use part weight or a visual representation to determine whether the cavity is 95-98% full. Like most applications, it depends. For the vast majority, though, I say visual, and here is why. When using part weight, one would use a final part as reference. For example, we have a sample part that weighs 100 grams, therefore the fill only should weigh 95 grams. Makes sense, except for the fact that you need to account for a couple of things: compressibility of the material and gate seal (or lack thereof).
In the scenario outlined above, the cavities are not actually 95% full at transfer, they are 100% full, causing some of the material to escape due to lack of hold pressure and time. Not having gate seal forces it to discharge, but as soon as hold pressure and time are applied, the potential to over pack or flash parts arises, which is why a visual representation works best for most applications. So, when would you use part weight? Typically, on a very thick walled application, where visually short could constitute for 20% of the volume of the part.
You may also come across applications where transferring from fill visually short will never lead to filled out parts, no matter how much hold pressure you use. These are typically thin walled applications where the flow front slows down and freezes when you transfer—no matter how hard you push, it will never start flowing again. In these cases, you may have to fill a little farther to get the plastic where it needs to go.
Another tricky situation when establishing a fill only part is dealing with multi-cavity molds with less than optimal cavity balance. How in the world do you decide on a fill only part when the cavities have vastly different volumes at the end of the filling process? In this case, we would typically use a fill only part that would represent the average of a 95-98% fill. You will have some cavities that are more or less full than you would like them to be, but it is a compromise that will typically work out just fine at the end of the day. Unless, of course, you want to improve on cavity balance, but that’s another topic for another day.
Remember: a robust fill only is just one piece of the processing puzzle, but it sets up the rest of the process and reduces part variation for the long term.
